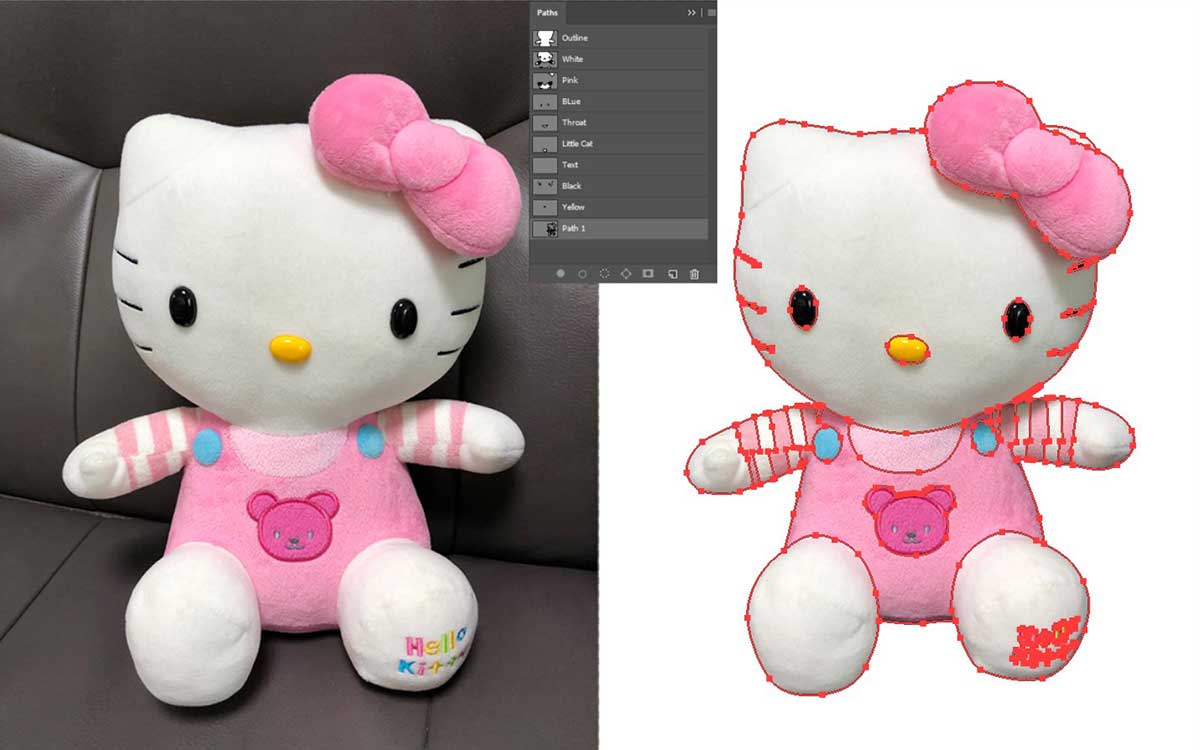
Product photography is a necessary part of any business. Not only does it help promote and sell products, but it can also create a more professional image for your company. However, product photography can be expensive, so it’s important to know what costs are involved.
Here are five things you need to consider when shooting product photography: the location, the props, the equipment, the crew, and the post-production.
Why product photography is important?
Let’s find out the reasons why product photography is important.
First, it can help people understand what a product looks like and how it might function.
Second, good product photography can increase sales by helping shoppers visualize the product in their own homes.
Third, well-executed product photography can make a product more visually appealing to users.
Finally, great photography can create an emotional connection with customers that can lead to repeat business. Overall, good product photography costs money but is ultimately worth it in terms of ROI (return on investment).
Tools and Techniques: What are the basic tools and techniques used in product photography?
Product photography is an important part of marketing and advertising. It helps to show the features and benefits of a product to potential customers, and can be used to promote new products or sell existing ones. Product photography can also be used to create visual representations of products for designers, manufacturers, or retailers.
There are a number of basic tools and techniques that are used in product photography. These include digital cameras, lenses, lighting equipment, photo editing software, and Photoshop. Digital cameras are the most common tool used in product photography, but there are also some applications that use film cameras. Lenses can be expensive, so it is important to select the right one for the type of shooting that will be done. Lighting equipment can range from simple setups like flashguns or continuous lights to more complex setups that use strobes or studio lights.
Concepts and Themes: What are some essential concepts used in product photography?
Product photography is an essential part of any ecommerce business. It helps to sell products by showing them in an interesting and appealing way. Product photography can be used to represent a product in a positive light, or to show it in its most realistic setting. There are many essential concepts used in product photography, and this article will outline some of the key ones.
Some key concepts used in product photography are lighting, composition, and background design. Lighting is important because it sets the mood for the photograph. Composition refers to how the elements within the photograph are arranged. Background design refers to the background material that is used to fill space within the photograph.
Examples of Successful Product Photography: Some excellent examples of product photography that succeeded.
Product photography is an important aspect of any business or website. It helps to sell products and shows off the quality and functionality of a product. Successful product photography can make a big difference in the sales of a product. Some excellent examples of successful product photography are shown below.
One example is the website for Hanes. They use beautiful photos of their products to demonstrate how comfortable they are and how well they fit. This helps customers to make informed purchasing decisions.
Another great example is Amazon.com . They use high-quality photos to show off their products in an engaging way. This makes it easy for customers to find what they’re looking for and motivates them to buy the product.
Successful product photography can also help businesses get more web traffic.
How do you take a product photo?
Product photography can be a costly endeavor, depending on how much work is involved and the level of detail required. A basic product photo may only require an amateur photographer with a digital camera to take a few shots. More involved projects may require the services of an experienced professional photographer or photo editing software. Here are some tips to help you save money on product photography:
- Choose a simple product to photograph. Complex products will cost more to photograph and edit because there is more room for error.
- Plan your shoot ahead of time. Gather all the necessary equipment beforehand so you don’t have to waste time running around in the moment of capture.
- Use natural lighting whenever possible. This will save you money on your lighting costs and make your photos look more authentic.
- Shoot in high resolution mode if possible.
What is the difference between a DSLR and a point-and-shoot camera?
Product photography can be costly, depending on the camera and lens you use. A DSLR, for example, typically costs more than a point-and-shoot camera. However, there are a variety of factors that can affect the price of product photography.
For example, if you’re shooting for an online store, you may need to consider postage and packing fees. Additionally, some cameras have more advanced features than others, which can lead to higher prices. Ultimately, it’s important to consult with a professional before making any decisions about product photography costs.
What equipment do I need to take product photography?
Product photography can be a cost-effective way to showcase your products online and in stores. However, it does require some equipment and setup. Here is a breakdown of what you will need:
Camera: A quality camera that is capable of taking good product photos is important. A digital SLR or mirrorless camera will do the job, but a more expensive option will yield better results. Generally speaking, the more megapixels the camera has, the better the photo quality.
Lenses: Good lenses are essential for product photography. You’ll want something with an adequate focal length (ie: not too wide or too narrow) and aperture (ie: small number). Aperture controls how much light enters the lens and affects how blurry or sharp your image will be in low light scenarios.
How do I take a picture of an object that is too far away to see?
Product photography can be costly depending on the level of detail required and the method used. A basic snapshot with a smartphone can cost as little as $5, while professional product photography can run into the tens or hundreds of dollars. Here are some tips to help minimize expenses:
- Consider location: The best way to minimize expense is to consider where you’re going to take your photos. If you have access to a studio or other controlled environment, by all means use it! But if not, try to find locations that are less expensive and require less setup time. A park, a friend’s house, or even a busy street corner can all work well for product photography.
- Use Snapseed: One of the cheapest and most effective ways to take photos is with your smartphone camera.


